Introduction: Why Camera Settings Matter in Landscape Photography
The beauty of nature—whether sweeping mountains, deep green forests, or quiet lakes—deserves to be captured with clarity and depth.
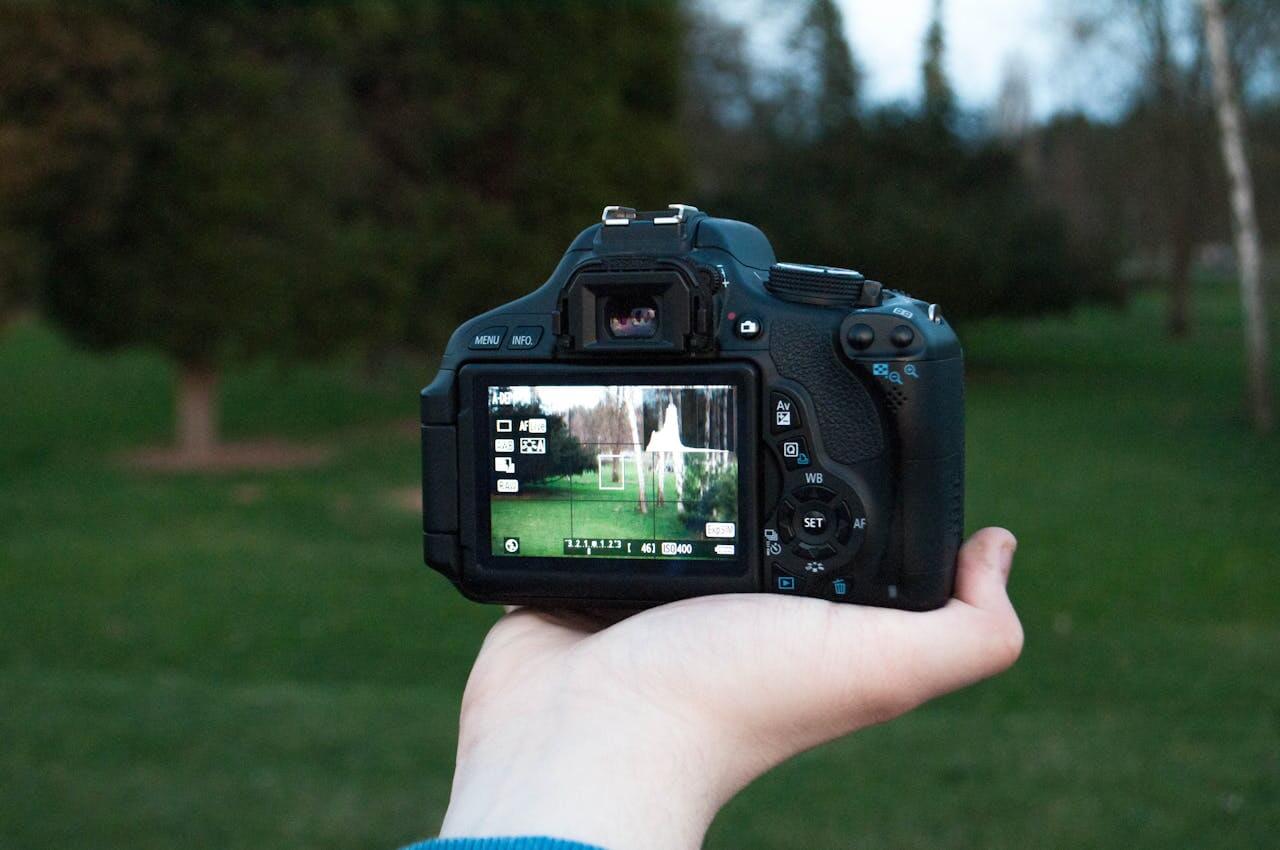
Mastering the best camera settings for landscape photography is the single most important step to turning what your eyes see into breathtaking high-definition images. In this detailed guide, you’ll learn how to balance aperture, shutter speed, ISO, and focus for landscapes, forests, and mountain scenes so every shot tells a story.
New to nature photography? Start with our Ultimate Beginner’s Guide to Nature Photography (HD Edition) for a strong foundation.
1. Core Principles of Landscape Photography

Before adjusting dials and menus, understand the key goals of landscape photography:
- Maximum sharpness and detail from foreground to distant peaks.
- Balanced exposure that captures highlights and shadows.
- Natural color rendering that reflects the scene’s atmosphere.
Every camera setting—aperture, shutter speed, ISO, focus mode—supports these goals.
2. Aperture: Controlling Depth of Field
2.1 Start at f/8 to f/11
For wide scenes, a mid-range aperture like f/8 to f/11 delivers the best balance of depth of field and lens sharpness.
- Lower f-numbers (e.g., f/2.8) blur backgrounds and suit selective focus.
- Higher f-numbers (e.g., f/16–f/22) increase depth but can soften images because of diffraction.
2.2 Special Cases
- Foreground interest (e.g., flowers, rocks): Use f/11–f/16 to keep everything sharp.
- Low light: Open to f/5.6 if needed but adjust shutter speed carefully.
3. Shutter Speed: Capturing Motion
3.1 Keep It Steady
For handheld shots, use at least 1/60 sec with image stabilization. When using a tripod, you can slow down dramatically.
3.2 Creative Effects
- Silky waterfalls or streams: 1/2 sec to several seconds, tripod required.
- Wind-blown trees or clouds: 1–5 sec for gentle motion blur.
A remote shutter release or the camera’s self-timer prevents shake during long exposures.
4. ISO: Balancing Sensitivity and Quality
ISO determines your sensor’s sensitivity to light.
- Use ISO 100 or 200 whenever possible for the cleanest files.
- Raise ISO only when light is low and you need to maintain shutter speed.
Modern cameras handle ISO 800 or even 1600 well, but always test your own gear.
5. Focus for Maximum Sharpness
5.1 Focus One-Third Into the Scene
For sweeping landscapes, focus roughly one-third into the frame. This takes advantage of depth of field so both foreground and background stay sharp.
5.2 Use Manual or Back-Button Focus
Many professionals prefer manual focus for precision, especially when using a tripod.
Back-button focus is excellent when re-composing shots.
6. White Balance and Color
Correct white balance ensures true-to-life colors:
- Daylight setting for sunny scenes.
- Cloudy to add warmth on overcast days.
- Shade for cool forest interiors.
If you shoot RAW (recommended), you can fine-tune white balance in post-processing without losing quality.
7. Essential Gear and Accessories
- Sturdy tripod to stabilize long exposures.
- Polarizing filter to cut glare and enhance blue skies.
- Neutral density (ND) filters for long exposures in bright daylight.
- Remote shutter release or smartphone app for vibration-free shots.
These tools support the best camera settings for landscape photography by ensuring consistency and sharpness.
8. Camera Settings for Specific Environments
8.1 Majestic Mountains
- Aperture: f/8–f/11
- Shutter Speed: 1/125 sec or slower if using a tripod for clouds and mist.
- ISO: 100
Tip: Use a wide-angle lens (16–35 mm) to capture grand scale and leading lines.
8.2 Deep Forests
- Aperture: f/8 for balanced depth.
- Shutter Speed: 1/4–1 sec (tripod essential).
- ISO: 200–400 depending on available light.
Tip: Experiment with vertical framing to emphasize tall trees.
8.3 Lakes and Waterfalls
- Aperture: f/11–f/16 for full depth.
- Shutter Speed: 1/2 sec to 2 sec for silky water.
- ISO: 100
Tip: A neutral density filter helps extend shutter speed on bright days.
9. Compositional Techniques
- Rule of Thirds: Place horizons on the top or bottom third for balance.
- Leading Lines: Use rivers, trails, or ridgelines to draw the viewer’s eye.
- Foreground Interest: Include rocks, flowers, or driftwood to add depth.
These techniques complement the best camera settings for landscape photography by turning technical precision into emotional impact.
10. Editing for Maximum Impact
Post-processing refines your hard work:
- Adjust exposure and contrast to match the scene’s mood.
- Fine-tune color saturation for natural vibrance.
- Apply selective sharpening to enhance texture without creating halos.
11. Common Mistakes to Avoid
- Overexposure of skies: Use your camera’s histogram to ensure balanced highlights.
- Camera shake: Always stabilize long exposures with a tripod and remote release.
- Ignoring weather: Dramatic skies often create the most memorable images.
12. Keep Improving Your Landscape Photography
The best camera settings for landscape photography are starting points. Every scene is unique, so experiment with:
- Different times of day and seasons
- Varied focal lengths
- Creative shutter effects (e.g., star trails or moving clouds)
Explore More on NaturePhotographyHD.com
Ready to build a complete skill set? Continue your journey with these related resources:
- The Ultimate Beginner’s Guide to Nature Photography (HD Edition)
- 12 Expert Wildlife Photography Tips for Capturing Nature in Stunning High Definition
Set up your camera, step outside, and put these best camera settings for landscape photography into practice today.