Introduction: Golden Hour vs Blue Hour Photography
Light is the single most important ingredient in photography. Among all the times of day, two periods stand above the rest: the golden hour and the blue hour. These fleeting windows of light can transform an ordinary scene into something extraordinary.
In this guide to golden hour vs blue hour photography, you’ll learn how each differs, the best settings and techniques, and how to make the most of these magical times of day. Whether you’re shooting sweeping landscapes, forests, or city skylines, mastering these lighting conditions will take your nature photos to the next level.
If you’re still building your foundation, check out our Mastering Natural Light in Photography: Golden Hour, Blue Hour & Weather Effects for a broader overview.

1. What Is Golden Hour?
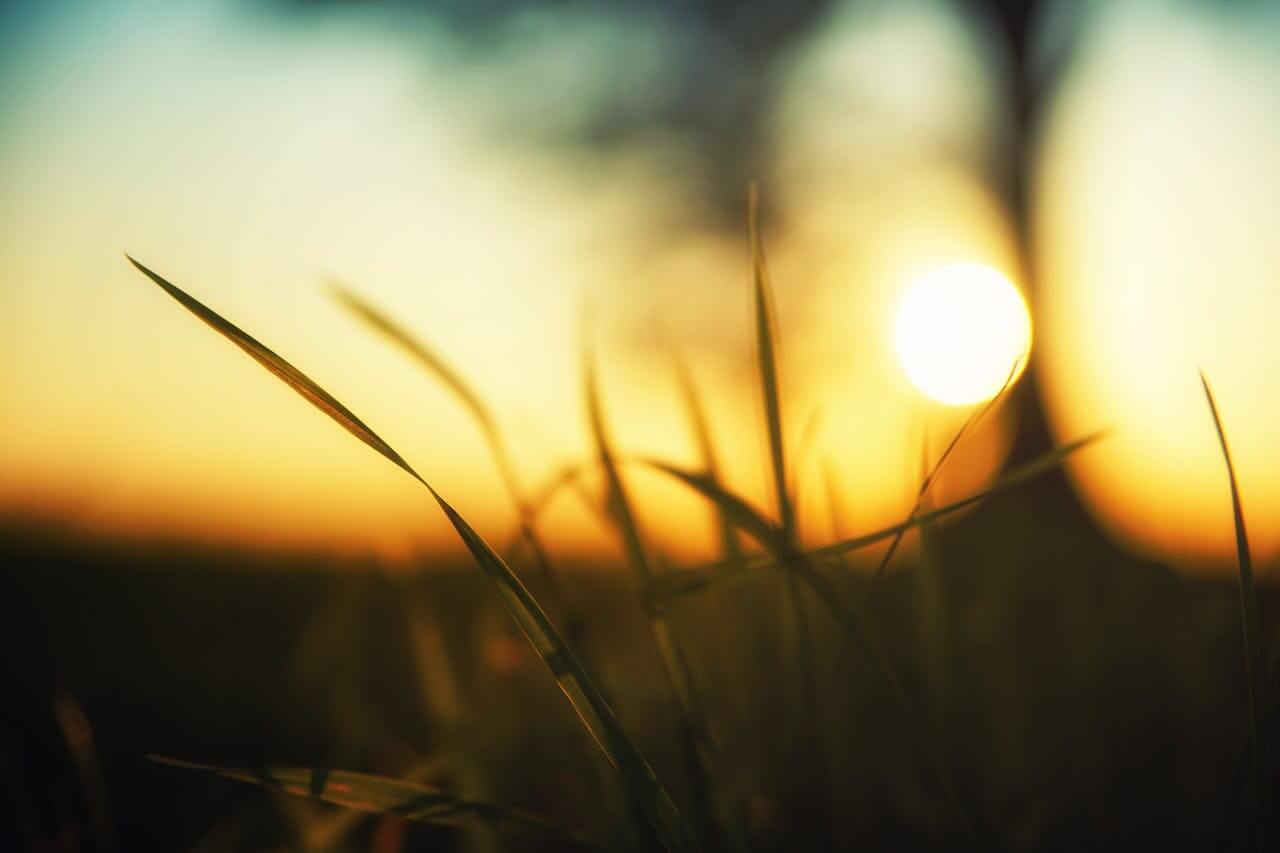
Golden hour is the time shortly after sunrise and just before sunset when the sun is low in the sky. Its defining features:
- Warm, golden tones
- Soft, flattering shadows
- Gentle highlights that wrap around subjects
Golden hour creates an atmosphere that feels both vibrant and dreamy, perfect for landscapes and wildlife.
2. What Is Blue Hour?
Blue hour occurs just before sunrise and just after sunset, when the sun is below the horizon but indirect sunlight still illuminates the sky. Its signature qualities:
- Deep blue and purple tones
- Low, even contrast
- A sense of calm and moodiness
Blue hour is ideal for dramatic landscapes, cityscapes, and reflective water photography.
3. Golden Hour vs Blue Hour Photography: The Key Differences
- Color Palette: Golden hour = warm oranges and reds; Blue hour = cool blues and purples.
- Mood: Golden hour = uplifting and glowing; Blue hour = tranquil and mysterious.
- Duration: Golden hour typically lasts longer (up to an hour), while blue hour is shorter (20–40 minutes).
- Best Uses: Golden hour for portraits, wildlife, and landscapes; Blue hour for moody landscapes, city lights, and water reflections.
4. Camera Settings for Golden Hour
Golden hour is forgiving but requires thoughtful adjustments:
- Aperture: f/8–f/11 for landscapes, f/2.8–f/4 for portraits.
- Shutter Speed: 1/60 sec or faster to freeze movement; use a tripod for slower speeds.
- ISO: Start at 100–200; raise as the light fades.
- White Balance: “Daylight” or “Cloudy” to preserve warm tones.
Pro tip: Experiment with backlighting for glowing outlines around trees, flowers, or animals.
5. Camera Settings for Blue Hour
Because blue hour offers less light, stability and exposure control matter:
- Aperture: f/8–f/11 for depth of field.
- Shutter Speed: 1–10 seconds (tripod required).
- ISO: 100–400 to minimize noise.
- White Balance: Set to “Tungsten” or custom for true blue tones.
Pro tip: Blue hour is perfect for long exposures, capturing silky water, moving clouds, and star trails.
6. Composition Techniques for Golden Hour vs Blue Hour Photography
Golden Hour Compositions
- Use long shadows for depth.
- Position subjects against the sun for halos of light.
- Include foreground elements (rocks, flowers) to catch warm highlights.
Blue Hour Compositions
- Reflective surfaces like lakes enhance the deep blues.
- Frame cityscapes with glowing lights against the moody sky.
- Incorporate silhouettes for striking contrast.
7. Golden Hour vs Blue Hour for Different Subjects
Landscapes
Golden hour emphasizes texture and warmth, while blue hour highlights mood and atmosphere.
Wildlife
Golden hour provides enough light for fast shutter speeds; blue hour is too dim for most wildlife unless using advanced gear.
Macro
Golden hour creates glowing highlights on petals and insects; blue hour can produce ethereal, soft-focus effects with longer exposures.
Aerial Drone Shots
Golden hour reveals contours of mountains and valleys; blue hour captures surreal cityscapes or glowing coastlines.
8. Tools and Apps to Plan Your Shoot
- PhotoPills and The Photographer’s Ephemeris show exact golden and blue hour times for your location.
- Weather apps help anticipate clouds, fog, and clear skies.
- Google Earth or maps allow scouting angles ahead of time.
9. Post-Processing Tips
- Golden Hour: Enhance warm tones with subtle vibrance and clarity.
- Blue Hour: Adjust shadows and highlights to balance low contrast, and fine-tune white balance for accurate blues.
Editing should emphasize the natural qualities of light, not overpower them.
10. Common Mistakes to Avoid
- Arriving late: Both golden and blue hours are short; plan ahead.
- Over-saturation: Exaggerating warm or cool tones can look artificial.
- Ignoring tripods: Especially in blue hour, handheld shots will often blur.
11. Which Is Better—Golden Hour or Blue Hour?
The truth is, neither is “better.” It depends on your vision:
- Choose golden hour for vibrant, life-filled scenes.
- Choose blue hour for calm, contemplative, or dramatic moods.
The best photographers use both, often shooting golden hour into blue hour for maximum variety.
Explore More on NaturePhotographyHD.com
Keep building your skills with these expert guides:
- The Ultimate Beginner’s Guide to Nature Photography (HD Edition)
- 12 Expert Wildlife Photography Tips for Capturing Nature in Stunning High Definition
- The Best Camera Settings for Landscapes, Forests, and Mountains
- Mastering Natural Light in Photography: Golden Hour, Blue Hour & Weather Effects
- Best Drones for Nature and Landscape Photography: A Complete Guide
- Macro Photography in Nature: Flowers, Insects, and More
- Editing Nature Photos Like a Pro: Free and Paid Tools
Whether it’s golden hour or blue hour, the magic of light is waiting. Plan your shoot, set up your gear, and watch nature transform before your lens.